Accounts receivable
Creating an Invoice in Odoo
1. Navigate to Customer Invoices
- Open the Dashboard.
- Select Accounting from the menu.
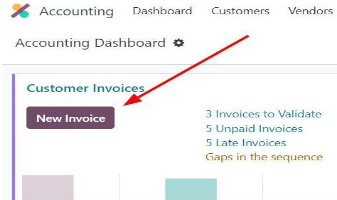
- Go to Customer Invoices on the left, and click New Invoice.

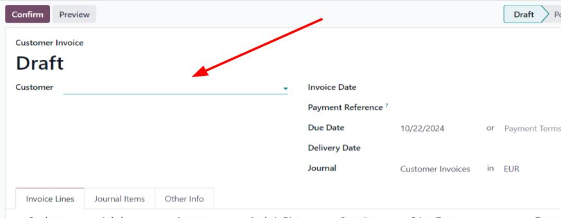
2. Select the Customer
- Choose the Customer from the dropdown.
- If the customer isn’t listed, add a new one and confirm all details, including address and VAT number.

3. Set Invoice Date
- Set the Invoice Date manually or click Confirm to default to today’s date.
4. Add Products or Services
- Click Add a line or Add a section to list items.
- Complete each field:
- Description
- Quantity (typically 1 unless specified otherwise)
- VAT % (if applicable)
- Unit Price
- Complete each field:
5. Specify Payment Reference and Due Date
- Payment Reference: Enter the Order Number / Bestellung.
- Due Date: Based on the contract or order form, enter Payment Terms.
6. Add Additional Notes (Optional)
- Include notes if necessary, such as VAT clarification or correction information, in the bottom-right notes section of the invoice.
7. Preview and Confirm Invoice
- Click Preview to review.
- Confirm that all details, including the invoice number, are correct (cross-check with List of invoices).
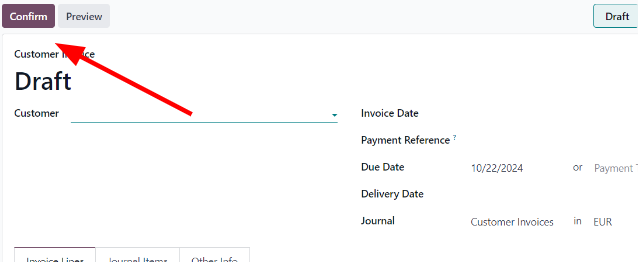
- Once verified, click Confirm.

8. Save the Invoice
- For saving:
- Go to Reset to Draft, then Confirm, then Preview, and Print.
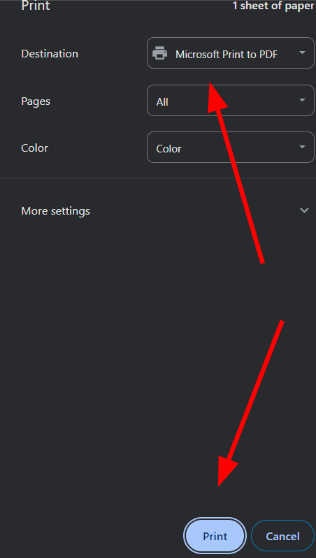
- In the print dialog, select Microsoft Print to PDF and Print.

9. Send the Invoice by Email
- To email the invoice:
- Click Send by Email.
- Confirm the correct recipient, edit the message as needed, and remove the default invoice attachment.
- Attach the saved invoice and click Send.
